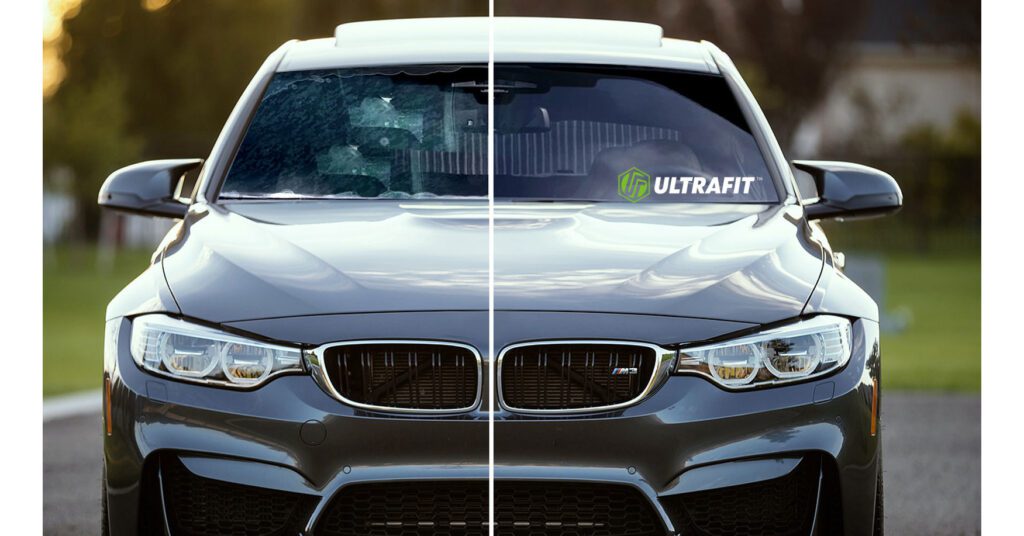
Window tinting is an excellent way to enhance privacy, reduce glare, and protect your car’s interior from harmful UV rays. However, over time, tint film can degrade, bubble, or discolor, making removal necessary. Whether you’re looking to upgrade to a better tint or restore your windows to their original clarity, this guide will walk you through the best methods for removing window tint safely and effectively.

Is It Hard to Remove Tint from Your Car?
Many car owners wonder whether removing window tint is a DIY-friendly job or best left to professionals. The truth is, it depends on the tint’s age and quality, as well as the removal method you choose. Older tints may require extra patience and effort, but with the right tools and techniques, most people can successfully remove window tint at home.
If the tint is severely bubbled, cracked, or stuck due to years of exposure to heat and sun, professional services like those at TAHI LLC may be the best solution to avoid damaging your windows.
Easy Steps to Remove Car Window Tint at Home
There are multiple ways to remove car window tint, but the most effective and commonly used methods are:
1. Using Heat (Steam or Hair Dryer Method)
Best for: Removing tint with minimal residue.
- Turn on the heat source. Use a steamer or a hairdryer on its highest setting, holding it a few inches away from the window.
- Heat the tint edges. Start at a corner and gradually warm up the adhesive underneath.
- Peel off the tint. Use a razor blade to lift a corner of the tint and slowly pull it off while continuing to apply heat.
- Remove residue. Use an adhesive remover or soapy water with a microfiber cloth to clean off any remaining glue.
2. Ammonia & Sun Method
Best for: Older, stubborn tints.
- Prepare the area. Work in a well-ventilated space and cover interior surfaces with plastic to avoid damage.
- Spray the tint. Generously apply ammonia-based cleaner to the window.
- Cover with plastic wrap. Press a sheet of black plastic or garbage bag against the wet tint.
- Let it sit in the sun. Leave the window exposed for 30–60 minutes to soften the adhesive.
- Peel and clean. Remove the plastic and gently scrape off the tint using a razor blade. Wipe away remaining adhesive with a glass cleaner.
3. Soapy Water & Razor Blade Method
Best for: Small sections of tint or spot cleaning.
- Spray soapy water on the tint. Allow it to soak for a few minutes.
- Scrape carefully. Use a sharp razor blade at a low angle to lift the tint off the glass.
- Clean residue. Wipe the window with a microfiber cloth and glass cleaner.
How to Safely Remove Window Tint Without Damaging Glass
When removing tint, the biggest concern is scratching or damaging the glass. Here are some key tips to prevent damage:
- Use plastic blades instead of metal razors when working on defroster lines or delicate areas.
- Keep the window lubricated with soapy water or an ammonia-based solution while scraping.
- Avoid using excessive force—let the adhesive soften properly before peeling.
- Test an inconspicuous area first to see how the tint reacts to your chosen removal method.
If you’re worried about damaging your windows, TAHI LLC’s professional window tint removal services ensure a smooth, damage-free process.
Window Tint Removal: Tips and Tricks for Success
- Work in a warm environment: Heat makes the adhesive easier to loosen.
- Use a steamer for best results: It speeds up the process and reduces residue.
- Clean thoroughly after removal: Leftover adhesive can attract dust and dirt, making your windows appear cloudy.
- Consider professional help for large or old tints: If DIY methods aren’t working, TAHI LLC can efficiently remove your tint with specialized tools.
Final Thoughts: Should You DIY or Hire a Professional?
If you have patience, the right tools, and time, DIY window tint removal can be a cost-effective option. However, for deeply adhered or delicate tints, professional removal is a safer choice.
At TAHI LLC, we provide expert window tint removal, ceramic coating, paint protection, and vinyl wrapping services in Cumming, GA. Let us take care of your vehicle with precision and expertise—contact us today for a free consultation!
